1602 LCD on RPi B+: Difference between revisions
Jump to navigation
Jump to search
No edit summary |
|||
| (6 intermediate revisions by the same user not shown) | |||
| Line 12: | Line 12: | ||
== Final connection == | == Final connection == | ||
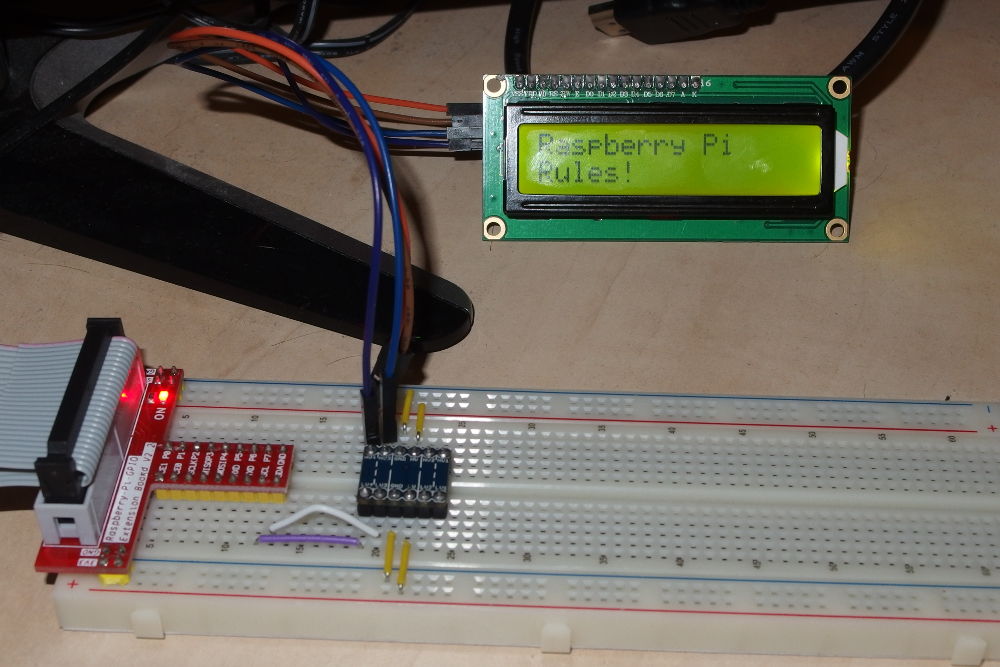
Because I2C LCD use 5V logic and Vcc but Raspberry Pi uses 3.3V you need to connect between LCD and Raspberry Pi logic converter module! | |||
[[File:1602-connection.jpg|400px|Final Connection]] | [[File:1602-connection.jpg|400px|Final Connection]] | ||
== Software == | |||
* Login to Raspberry Pi B+ | |||
* sudo vi /etc/modules and add following | |||
<syntaxhighlight lang="bash"> | |||
i2c-dev | |||
</syntaxhighlight> | |||
* sudo vi /etc/modprobe.d/raspi-blacklist.conf and comment following | |||
<syntaxhighlight lang="bash"> | |||
# blacklist spi and i2c by default (many users don't need them) | |||
#blacklist spi-bcm2708 | |||
#blacklist i2c-bcm2708 | |||
</syntaxhighlight> | |||
* Run following commands and reboot | |||
<syntaxhighlight lang="bash"> | |||
sudo adduser pi i2c | |||
reboot | |||
</syntaxhighlight> | |||
* Connect LCD and run "i2cdetect -y 1" to find where is the device connected | |||
<syntaxhighlight lang="text"> | |||
0 1 2 3 4 5 6 7 8 9 a b c d e f | |||
00: -- -- -- -- -- -- -- -- -- -- -- -- -- | |||
10: -- -- -- -- -- -- -- -- -- -- -- -- -- -- -- -- | |||
20: -- -- -- -- -- -- -- 27 -- -- -- -- -- -- -- -- | |||
30: -- -- -- -- -- -- -- -- -- -- -- UU -- -- -- -- | |||
40: -- -- -- -- -- -- -- -- -- -- -- -- -- -- -- -- | |||
50: -- -- -- -- -- -- -- -- -- -- -- -- -- -- -- -- | |||
60: -- -- -- -- -- -- -- -- -- -- -- -- -- -- -- -- | |||
70: -- -- -- -- -- -- -- -- | |||
</syntaxhighlight> | |||
* Install neccesary software | |||
<syntaxhighlight lang="text"> | |||
sudo apt-get install python-smbus | |||
mkdir ~/lcd | |||
cd ~/lcd | |||
git clone https://bitbucket.org/thinkbowl/i2clibraries.git | |||
</syntaxhighlight> | |||
* Add main script, "vi ~/lcd/main.py" | |||
<syntaxhighlight lang="python"> | |||
#!/usr/bin/python | |||
from i2clibraries import i2c_lcd_smbus | |||
lcd = i2c_lcd_smbus.i2c_lcd(0x27,1, 2, 1, 0, 4, 5, 6, 7, 3) | |||
lcd.command(lcd.CMD_Display_Control | lcd.OPT_Enable_Display) | |||
lcd.backLightOn() | |||
lcd.writeString("Raspberry Pi") | |||
lcd.setPosition(2, 0) | |||
lcd.writeString("Rules!") | |||
</syntaxhighlight> | |||
* Everything should works fine now! | |||
Latest revision as of 19:55, 4 October 2014
What will be needed?
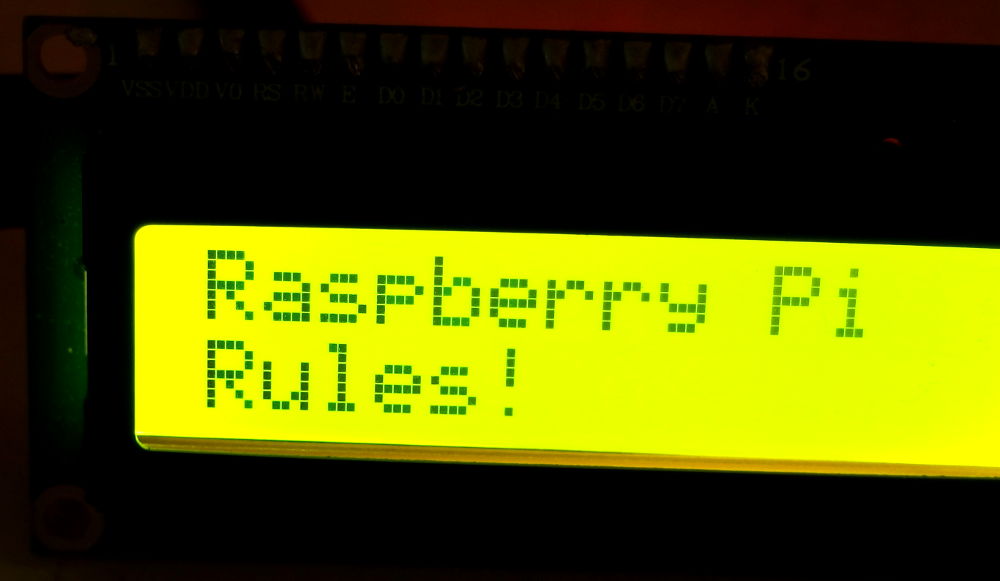
- SaintSmart 1602 backlighted I2C LCD (search E-Bay for "1602 LCD I2C")
- MB102 BreadBoard (also available on E-Bay)
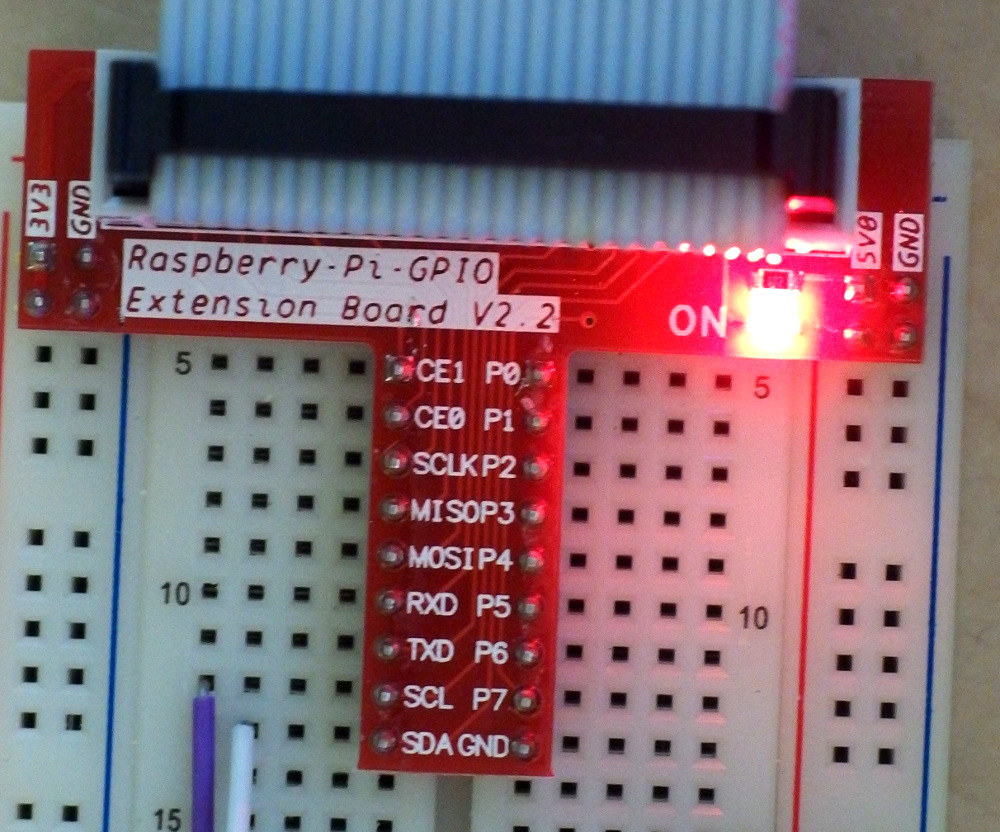
- Raspberry PI GPIO Extension Board v2.2
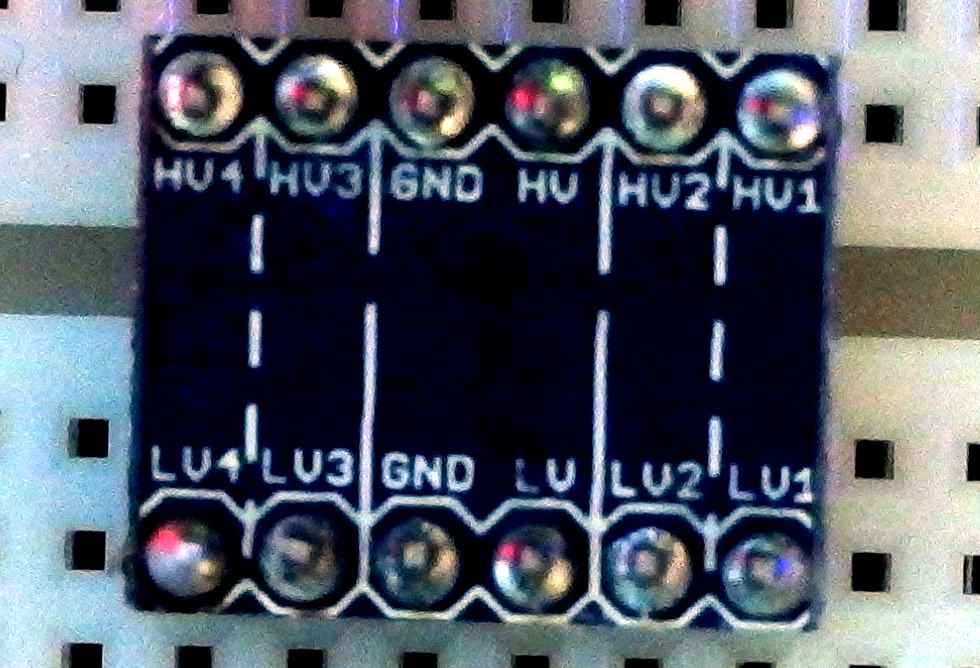
- Bi-Directional Module 5V to 3.3V
- Male to Female Dupont wires
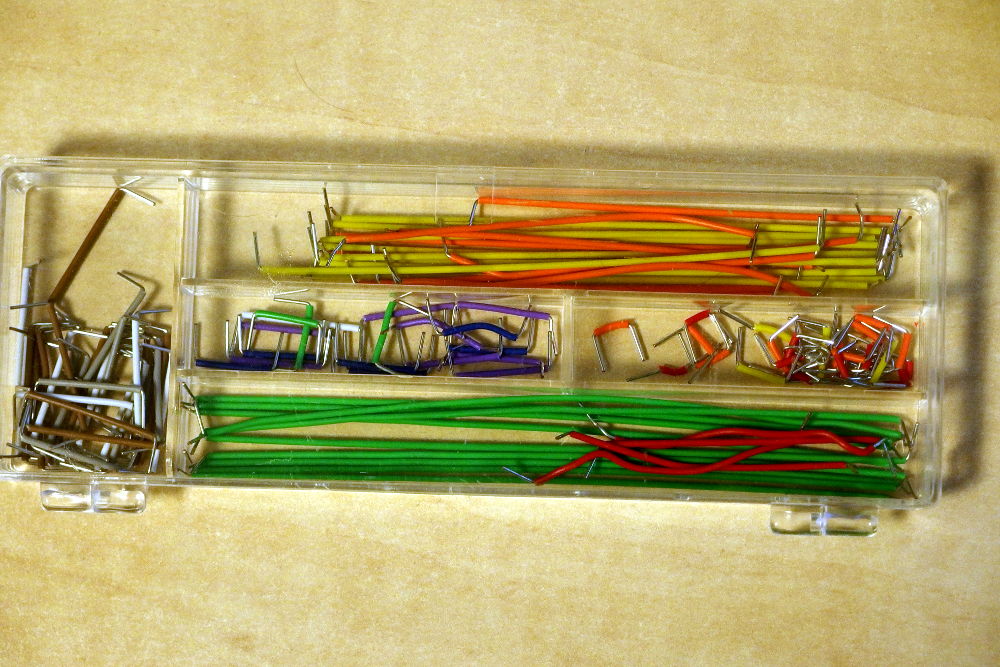
- 140pcs Solderless Breadboard Jumper Cable Wire Kit
Final connection
Because I2C LCD use 5V logic and Vcc but Raspberry Pi uses 3.3V you need to connect between LCD and Raspberry Pi logic converter module!
Software
- Login to Raspberry Pi B+
- sudo vi /etc/modules and add following
i2c-dev
- sudo vi /etc/modprobe.d/raspi-blacklist.conf and comment following
# blacklist spi and i2c by default (many users don't need them)

#blacklist spi-bcm2708
#blacklist i2c-bcm2708
- Run following commands and reboot
sudo adduser pi i2c
reboot
- Connect LCD and run "i2cdetect -y 1" to find where is the device connected
     0  1  2  3  4  5  6  7  8  9  a  b  c  d  e  f
00:          -- -- -- -- -- -- -- -- -- -- -- -- --
10: -- -- -- -- -- -- -- -- -- -- -- -- -- -- -- --
20: -- -- -- -- -- -- -- 27 -- -- -- -- -- -- -- --
30: -- -- -- -- -- -- -- -- -- -- -- UU -- -- -- --
40: -- -- -- -- -- -- -- -- -- -- -- -- -- -- -- --
50: -- -- -- -- -- -- -- -- -- -- -- -- -- -- -- --
60: -- -- -- -- -- -- -- -- -- -- -- -- -- -- -- --
70: -- -- -- -- -- -- -- --
- Install neccesary software
sudo apt-get install python-smbus
mkdir ~/lcd
cd ~/lcd
git clone https://bitbucket.org/thinkbowl/i2clibraries.git
- Add main script, "vi ~/lcd/main.py"
#!/usr/bin/python

from i2clibraries import i2c_lcd_smbus

lcd = i2c_lcd_smbus.i2c_lcd(0x27,1, 2, 1, 0, 4, 5, 6, 7, 3)

lcd.command(lcd.CMD_Display_Control | lcd.OPT_Enable_Display)
lcd.backLightOn()
lcd.writeString("Raspberry Pi")
lcd.setPosition(2, 0)
lcd.writeString("Rules!")
- Everything should works fine now!
