Creating HTTPS/SSL password protected site for free using Google AppEngine
Possible solutions
There are many manuals and documentations on the web how to create password protected on Google Storage Engine or Amazon S3. Trouble with these services are that it is not only paid service but it does not support HTTPS so practically anybody can intercept your login details. There are also many hosting providers but some of them does not supports storing your private data (they allow only public content which is authored by you) or you would need to buy an SSL certificate which is not very cheap at all. You might oppose me that Google Storage Engine supports encrypted files but I would have a simple question for you. Does it supports also static encrypted web pages where stored path is always same and not some redirected messy URL? You do not have to go far to find out simple answer "NO".
So basically I was looking for simple, cheap (or completely free) solutions which would support Google Authentication (OAuth2) with SSL encryption. Of course I found one and going to share it with you - it is called Google App Engine. You will pay only if you would use more than 5GB space (Google free quotas), under 5GB you do not even need to enter your credit card info because whole service is practically free of charge.
Google App Engine
Let's begin, if you are using Linux, it is pretty straightforward to download and install Google Cloud SDK and install it as standard user (you do not need to be a root). I am using Python App Engine, but in fact there will be no Python programming at all...
curl https://sdk.cloud.google.com | bash
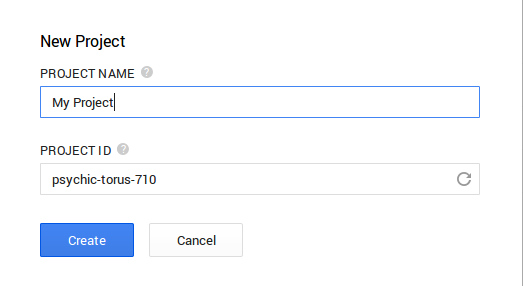
Next thing you need to do is create a project at Google Cloud Console. It is pretty straigtforward, after you will choose project name you will get a new Project ID (please remember it or write it down, you will need it later in this tutorial).
We are slowly moving forward to the end. Now you need to create a folder anywhere called e.g. My Project. Under this folder create a next folder with your files, e.g. myfolder and put your static files (web albums, web mirrors, whatever you need under it) there. In your main folder (e.g. My Project or whatever you used earlier) create the following file called app.yaml.
application: ''your-application-id''
version: 0-1-test
runtime: python27
api_version: 1
threadsafe: false

handlers:
- url: /''myfolder''
  static_dir: ''myfolder''
  login: admin
  secure: always